We hope you love the products we recommend! Just so you know, when you buy through links on our site, we may earn an affiliate commission. This adds no cost to our readers, for more information read our earnings disclosure.
Last Updated on August 8, 2022 by Todd
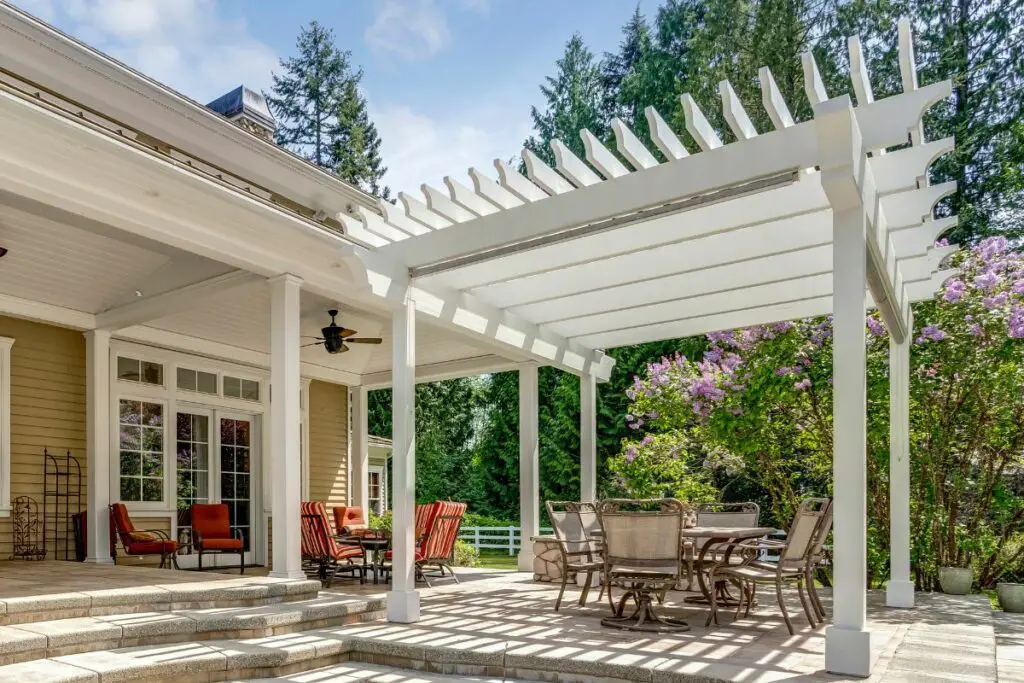
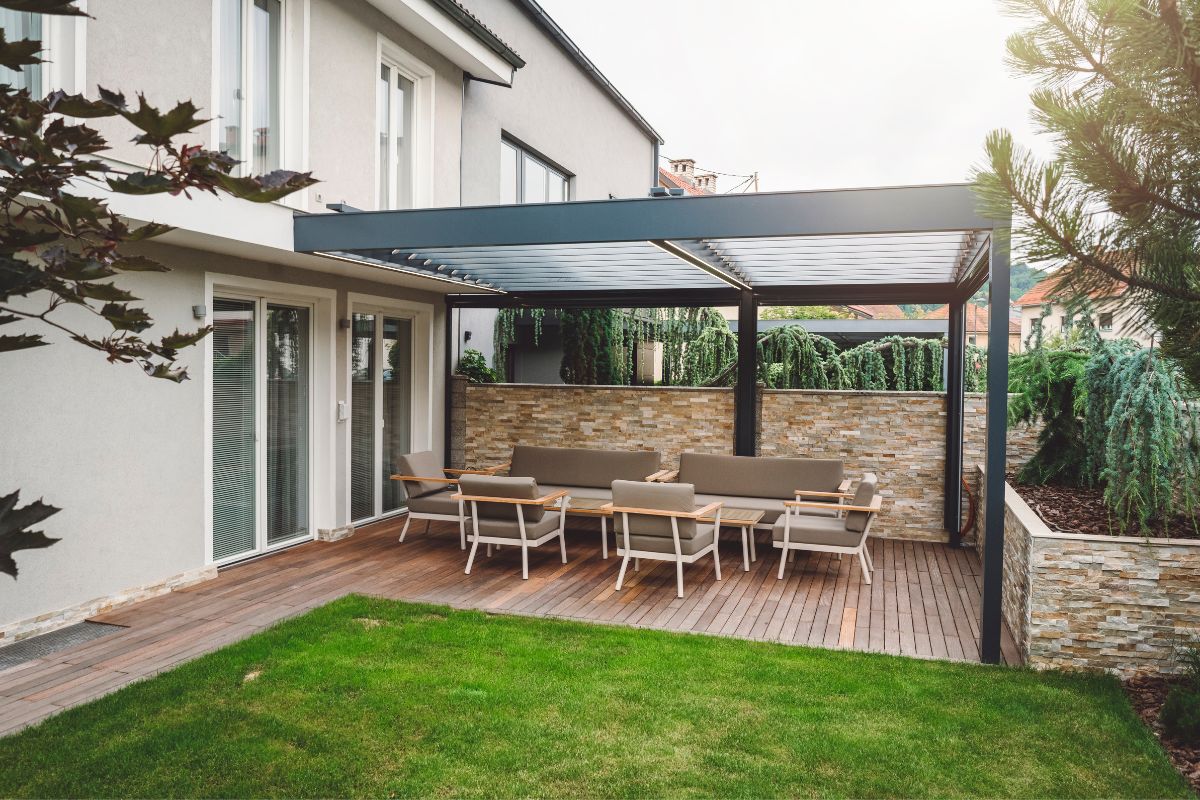
When summer comes around, everyone wants to be outside. But at the same time, when it’s hot, they also want to be in the shade.
And a patio roof is the ideal solution, giving you the best of both worlds, time outside in the breeze and protection from the harmful rays of the sun. And it can even add value to the property too.
It’s perfectly possible to attach a patio roof to an existing building, and this article is going to lay out, step-by-step, what you need to do.
Let’s get straight to it.
Let’s start with a list of everything you need.
Quick Navigation
Tools And Equipment You Will Need
- Black roofing felt
- Lag bolts
- Ledger
- Oriented strand board
- Nail gun
- Nails
- Roofing shingles
- Screwdriver
- Wooden beams
- Wooden planks
- Wooden rafter
How To Attach A Patio Roof To An Existing House
It’s important to note at this point that before you even think about installing a roof, onto an existing house or otherwise, you need to consult the building code requirements beforehand, and consistently during the construction to ensure that everything you’re doing is done to the right standards.
If you carry out the following steps as described, you won’t go far wrong.
Installation Of The First Rafter
Begin by nailing or screwing the first horizontal rafter to the main beam. You will have to go through the roof sheathing and into a support post on one end of the house, before using a fastener such as a crew-to-sole at the opposite end.
If the building in question doesn’t have any support posts, then you’ll have to use either joist hangers or bridging plates instead.
Installation Of The Remaining Rafters
Once that’s done, you’re ready to install the next rafter. Position it so that the bottom edge is even with the top edge with the initial rafter. There should be two small gaps between the rafters where they meet at their tops.
Keep attaching the horizontal rafters this way every 16 inches until they are sufficiently spread out to cover the entire width of the patio roof.
Installing The Ridge Board
The ridge board is a flat piece of lumber which supports the rafters above, spanning from one side to the other.
You should install it with the bottom edge even with the tops of the already installed rafters. The ridge board must not rest directly on top of them because you need to allow room for insulation to be installed.
If you find that you simply don’t have the room between posts or beams for bridging plates or hanging plates, then it’s OK to skip this step and move onto installing the next horizontal rafter.
Installing The Horizontals
Now you need to install additional horizontals every 16 inches across the opening by nailing them in place. These should cover the desired length plus an additional 12 inches, and then cut.
Cut the horizontals to the decided length, nailing them in position, continuing with 16 inch spacing equal to the roof’s width plus the additional 12 inches.
To finish, simply attach the end rafters, and nail down the side-rafters on all 4 sides. This way, you will have additional support for the sloped parts of the patio roof.
Seams
Always measure at least twice, and then measure once more when you come to cut the panels. You don’t want to see any kinks when finished. Use a nail gun to secure the parts in place.
End Rafters
Measure the height that the roof will be above ground level and add an additional 12 inches, cutting two end rafter boards to this length.
You can then attach them using either nails or screws, being careful to avoid any electrical wiring.
Side Rafters
Side rafters are important because they provide good, stable support for the sloped parts of the roof.
These should be spaced out as evenly as possible to keep the weight balanced. They should be positioned so that there are no gaps in the roof’s center that may allow rain to build up and leak through.
Side rafters are particularly important for patio roofs made with wood or metal material that may risk becoming warped through the passing of time, or through severe weather conditions.
Attachment Of The Side Rafters
Measure from the ground to where you want the rafters attached on either side of the building, and cut two boards to this length. Fix them into place with either nails or screws, again being careful to avoid electrical wiring.
Additional support for sloped parts of the roof may be required depending on the material being used and its thickness.
Side Rafter Overhang
Cut two boards the length of the roof’s overhang, from edge to edge, one for each side. Then fix them into place with either screws or nails. This will provide further support around the sloped parts at the top corners.
Attaching Overhangs/Gable Fascia
What spacing to use for the attachment of gables depends on the type of house. But traditionally, and as a general rule, you should match the rafters so that there are no gaps among them where rain water may collect (see also our article on crickets).
This becomes helpful later on, when installing asphalt shingles. The shingles will then be prevented from sliding off.
Once the gables are in position, you can then go ahead and install the overhang and gable fascia.
Wrap Up
If you follow the instructions laid out above, you won’t go far wrong. The key is the measuring. If you get that right, everything else will simply fall into place.
Once you understand what to do and how to do it, it’s not as daunting as it may seem. In fact, I would even go so far as to argue that the most difficult part of the process is applying for planning permission before you get started.
I hope you’ve found this guide easy to follow and understand, and that your patio roof goes up without a hitch!