We hope you love the products we recommend! Just so you know, when you buy through links on our site, we may earn an affiliate commission. This adds no cost to our readers, for more information read our earnings disclosure.
Last Updated on August 5, 2022 by Todd
For various reasons, sometimes a hole can occur in your roof. It is important that if you notice a hole in your roof, you should try and get it fixed as soon as possible.
By having a hole in your roof, this can lead to animals finding a way into your home and major water damage and leaks.
When you find a hole in our roof, you have two choices. You can either try and patch the hole yourself or call someone to fix it for you.
It is important to note that any repairs you do to your roof yourself could ruin any roof warranty you may have on any future insurance claims.
In this article, we will be taking through step by step on how you can patch a hole in your roof by yourself.
Quick Navigation
Materials And Equipment Needed
You will need the following materials and equipment to be able to patch a hole in your roof yourself.
- Ladder
- Hammer
- Gloves
- Shingles
- Circular Saw
- Plywood
- 2 x 4’s
- Nails
- Liquid Nails
- Tar Paper
- Roofing Cement
- Putty Knife
Step 1: Find Your Hole
The first thing you need to do is work out where the hole is. Sometimes you may have noticed the hole due to a leak that you have tracked through your home.
Once you have discovered the hole, you can place and secure your ladder in the appropriate area.
Step 2: Remove Old Shingles
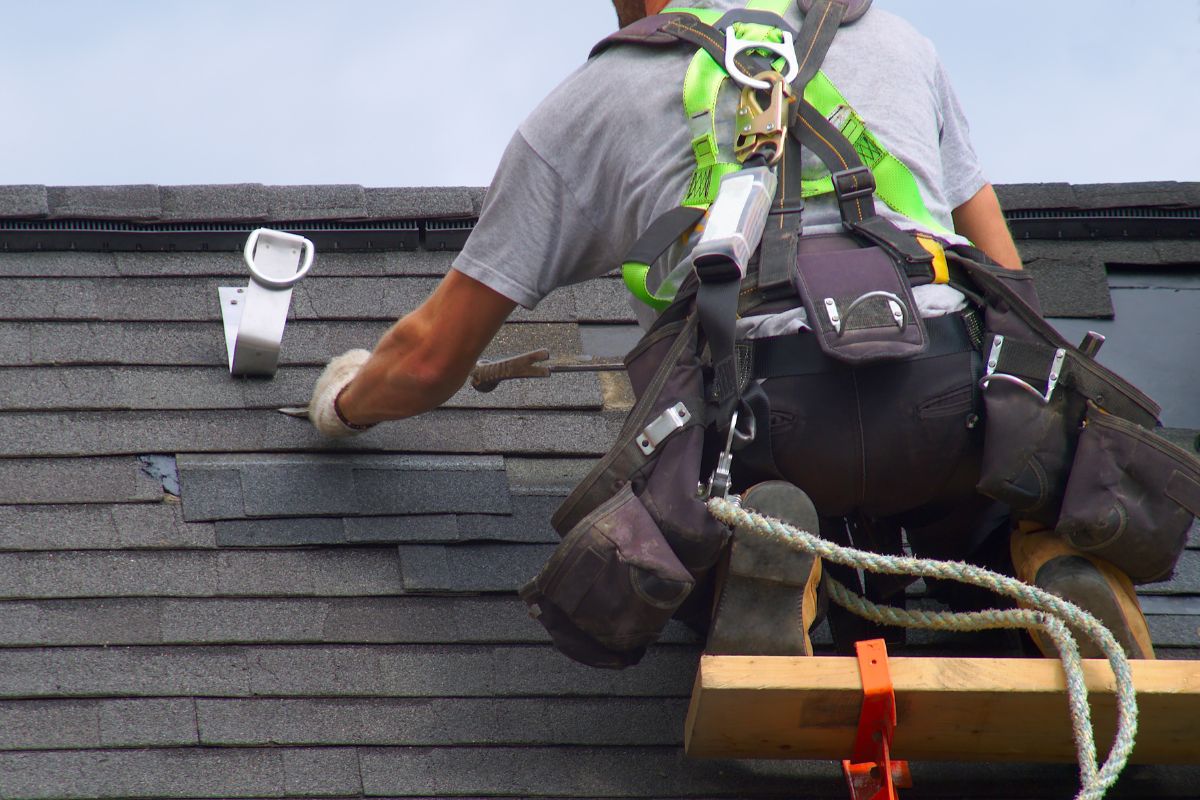
Once you are on the roof, the next thing you need to do is remove any old shingles that are around the hole. The best way to do this is by starting from the top and working your way down around the hole.
If you have any water damage (see also ‘What Is A Cricket In Roofing?‘), then it is best to remove all the shingles until you have exposed all the damage. Any damaged wood will be cut out and replaced in later steps.
Step 3: Remove Nails
If there happens to be any nails still in the wood that wasn’t removed with the shingles. Then by using the claw side of your hammer, remove these nails.
Step 4: Cut And Remove Damaged Wood
Now, with your circular saw, you need to cut out any plywood that has been damaged due to water. However, be careful to not damage or cut the rafter. The best thing to do is to work in smaller sections.
Step 5: Create A Frame
Use 2 x 4 lumber or create a frame for the new plywood to be laid onto.
If the hole in your roof is small, then you could attach this frame to the underside of any existing plywood that is still in good condition.
Extended the braces, so they are around three times the length of the hole. Although, if the hole is bigger than this, then you will need to create a frame and attach it to the rafter.
When attaching the frame, you will use either 8 penny nails or 10 penny nails, depending on the size of your 2x 4 frame.
Step 6: Cutting New Wood
Now it is time to cut some pieces of plywood that are the same size as the hole.
Step 7: Attach New Wood To The Frame
Add a small amount of liquid nails to the new piece of plywood you just cut and slot it into the hole on your roof. After that, using regular nails, nail the wood into the framing that you created using 8 penny nails.
When handling liquid nails, you may want to wear gloves to avoid getting off the substance on your hands. If you do happen to touch liquid nails, it may irritate your sin.
Step 8: Add Tar Paper
Where the new plywood meets the old existing plywood, spread roofing cement over these seams. After that, lay a layer of tar paper over the hole. Then you will need to nail this tar paper to the decking.
This is to secure the new elements that you have added to your roof (see also ‘How To Attach A Patio Roof To An Existing House‘). While also helping to protect the roof from any further water damage.
Step 9: Add New Shingles
Finally, you can add new shingles (see also ‘Can You Paint Roof Shingles?‘) to your roof. This time it is better to start from the bottom and work your way upwards.
When you are attaching your new shingles, you should be nailing the new shingles with roofing nails to the new plywood.
Then once you have nailed all your new shingles in place, then you need to cover all the nails with roofing cement. This to make the nails water-resistant and stop any leaking from occurring around the nails.
How Much Would It Cost To Get A Hole Fixed In Your Roof?
If you don’t feel comfortable patching the hole yourself, then you would have to call out a professional. However, a roof repair can be quite expensive.
Sometimes a roof repair can cost anywhere between $750 to $900 depending on the size of the hole in your roof.
When Is The Best Time To Repair Your Roof?
The best time to repair your roof is when it is around 40 degrees Fahrenheit outside. This is because if the temperature is any lower, then the shingles main break while they are being handled.
However, you don’t want the weather to be too hot either, otherwise it isn’t safe for you to complete the repairs.
Conclusion
Once you notice a hole in your roof, you need to get it fixed. You can hire a processional to do it, but if you are tight on money and have the experience, it may be better to do it yourself.
In this article, we have shown you how to patch a hole in your roof. Thus, you should now be able to do it yourself.